You’ve decided to stop selling generic products in grey bags and build a real brand. Good — this guide is the practical part: the exact steps to take a product from “anonymous dropshipped item” to “branded product shipping under your name,” without holding inventory.
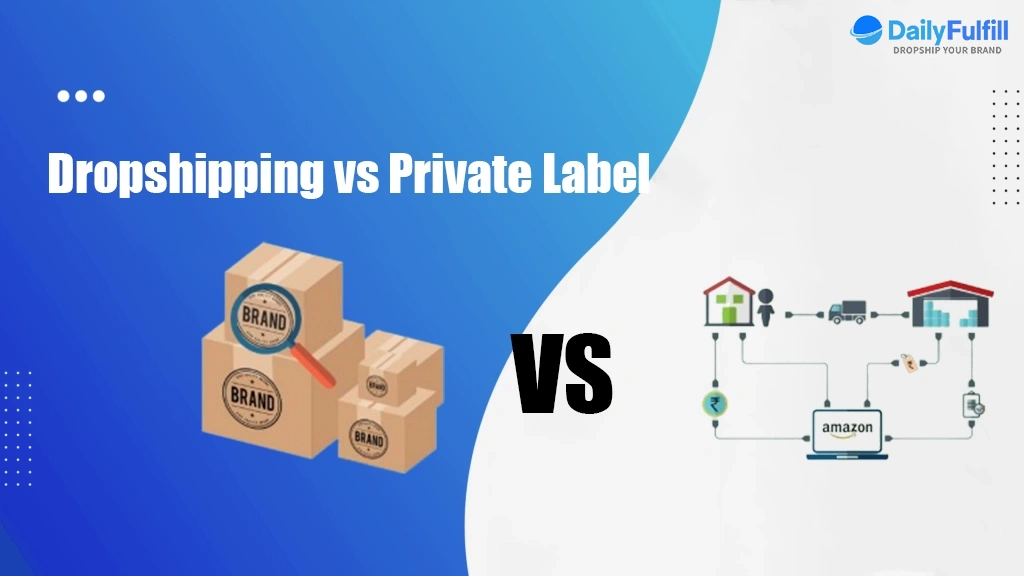
We’ll keep this focused on the how. If you still need convincing that branding is worth it, that case is made in why building your brand is essential, the profit numbers are in is branded dropshipping better than traditional dropshipping, and the difference between white label and private label is covered in dropshipping vs private label. Here, we assume you’re ready and just want the steps.
Before you start: brand a winner, not a guess
There’s one prerequisite that decides whether everything below works: brand a product that’s already proven it sells, not one you hope will.
This is the most common and most expensive mistake — beginners brand a product on day one, before they know anyone wants it. Branding takes time and money you can’t get back, and most products you try won’t sell. If you brand first and the product flops, you’ve burned the investment. So the correct order is always: test the product generically first, and only start the steps below once it shows consistent sales over a couple of weeks. If you’re not there yet, the branding can wait — validate the product first, then come back. Everything that follows assumes you have a proven winner worth committing to.
Step 1: Pick a brandable product and a tight niche
Not every product is worth branding, even a proven one. A brandable product has a few specific traits, and choosing one with them makes every later step easier:
- Room to charge more. Branding works by raising perceived value, so the product needs a price ceiling worth reaching. A $6 commodity has nowhere to go; a $25–$60 product that can feel premium does.
- A surface for your brand. You need somewhere to put your identity — a product that takes a logo well, or has packaging worth upgrading. Some items are physically hard to brand.
- Repeat or companion potential. The real payoff of branding is the second sale, so favor products customers reorder, or that have natural companion products you can sell them next.
- A specific audience. Branding is built on speaking to someone. A product tied to a clear, narrow audience is far easier to brand than a generic mass-market item.
This is also where the niche matters. Don’t build a general store — pick a tight niche so your brand can speak directly to one group. “Pet supplies” is too broad to brand; “calming beds and anxiety aids for senior dogs” is a brand waiting to happen. The narrower the audience, the easier it is to make a product feel made for them — which is the whole point of branding. Pick one proven product, one clear audience, and build outward from there.
Step 2: Choose how you'll brand it
Before you find a supplier, decide how far you’re branding this product, because it changes who you need and what it costs. There are two practical starting levels:
- Packaging only. The product stays as-is, but it ships in a custom box or branded mailer with your logo sticker and a thank-you card. This is the cheapest, lowest-risk entry, and it’s where most stores begin — you get a branded unboxing for cents per order without touching the product itself.
- Logo on the product (private label). Your brand goes onto the item itself — a printed label, a woven tag, an engraving. This is more defensible because competitors can’t sell your branded item, but it asks for a bit more commitment.
Which to choose depends on how proven and how valuable the product is: start with packaging while you’re confirming the winner, and add logo-on-product once you’re committed to it. The full trade-off between white label and private label — exclusivity, minimums, customization — is its own decision, covered in dropshipping vs private label; and if you only want the packaging side handled, the options and pricing are on our custom packaging service. For now, just pick your starting level so you know what to ask a supplier for.
Step 3: Find the right sourcing agent (the step that makes or breaks it)
This is the single most important step, and the one most beginners get wrong. A standard marketplace seller — a random AliExpress vendor — will not reliably brand your orders. They’re built for volume, not brand-building: ask them to add a thank-you card or a custom box and most will forget, get it wrong, or refuse. To brand without holding inventory, you need a sourcing agent: someone who sources the product from the factory, applies your branding at a low minimum, holds it, and ships each order under your name.
Not all agents are equal, so vet them before you commit. These are the questions that actually matter:
- Can you source from the factory directly, not just resell a marketplace listing? This decides your cost and your control.
- What’s the real minimum for branding — both packaging and logo-on-product? You want low minimums (often a few hundred or fewer for light methods), not a 2,000-unit demand.
- Do you inspect orders before they ship? Quality control is what stops a bad unit from reaching your customer and triggering a return. Ask whether they send photo reports.
- What are your shipping times and lanes, and do you upload tracking automatically? Fast, tracked shipping is half of the brand experience.
- Do you store my packaging, and is there a fee? You don’t want to pay to warehouse your own boxes.
- Do you integrate with my store so orders fulfill automatically? This is what keeps the whole thing hands-off once it’s running.
A good agent answers all of these clearly and quickly — and how responsive they are when you ask is itself a preview of what working with them will be like. (This is exactly the role we play at DailyFulfill: factory sourcing, low-MOQ branding, 3-stage QC with photo reports, and shipping under your name for 6,000+ stores. We’ll get to how to start with us at the end.)
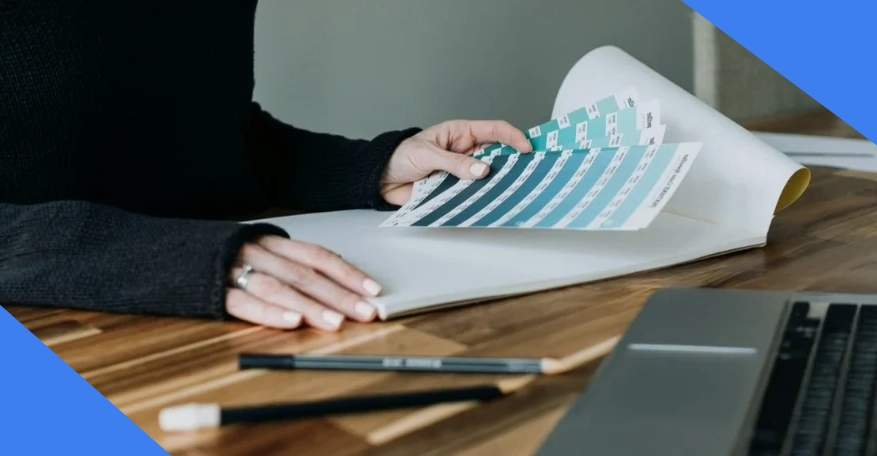
Step 4: Create your visual identity
Your visual identity is what makes every order feel like it came from the same real company. It doesn’t need to be elaborate — clean and consistent beats clever. You need three things:
- A simple logo. A clear wordmark or a basic icon is enough to start. Use a free tool like Canva, or pay a designer $20–$50 on Fiverr. Don’t agonize over it — you can refine it later.
- Two brand colors. Pick a primary and an accent color and use them everywhere — your store, your logo, your packaging. Consistency is what builds recognition; constantly changing colors destroys it.
- Print-ready files. This is the practical detail people miss: your agent needs your logo in a format that prints cleanly — ideally a vector file (AI, EPS, or PDF) or a high-resolution PNG with a transparent background. A small, blurry image off your website won’t print well on a box. Get the right file once and you’ll reuse it for everything.
The goal isn’t to look like a luxury house on day one — it’s to look consistent and intentional, so the store, the package, and the product all clearly belong to the same brand.
Step 5: Spec your packaging — and order a sample first
Now you turn your identity into physical packaging. Decide the mix that fits your product and budget: a custom box or a branded mailer, plus a logo sticker, a thank-you card (ideally with a repeat-purchase discount code), and an insert or pouch if the product warrants it. Match the size to your product — a box too big looks careless and costs more to ship; too small and the product won’t fit.
Here’s the step almost everyone skips and later regrets: order a sample before you commit to a full run or go live. Reviewing a design on screen is not the same as holding it. When the physical sample arrives, check the things a screen can’t show you — is the print sharp, are the colors accurate, does the box feel sturdy or flimsy, and most importantly, does your actual product fit and look right inside it? A sample costs a few dollars and a few days. Discovering a washed-out logo or a too-flimsy box after it’s been shipped on 500 orders costs you returns, reviews, and reprints.
A good agent makes this loop easy: they send you a design mockup, you approve or request changes, they produce a sample, you confirm it, and only then does full production start. Don’t let anyone skip you straight to a production run — the sample is your one cheap chance to catch a problem before your customers do.
Step 6: Build a store that matches the brand
Your store is the first brand touchpoint — the customer sees it before the package ever arrives — so it has to look like the same company that will ship the branded box. The good news: you don’t need a designer, just consistency.
- Use a clean theme and your brand colors. Pick a simple Shopify theme and apply the same two colors from Step 4. A cluttered, mismatched store undoes the trust you’re trying to build.
- Shoot your own product photos. This is where the sample from Step 5 earns its keep: now that you have the physical product in hand, photograph it — bright, clear, on a clean background — instead of using the same AliExpress images every competitor has. Your own photos are one of the strongest signals that you’re a real brand and not a reseller, and they sidestep the copyright and “I’ve seen this exact photo before” problem.
- Tell a simple, honest story. A line or two about why your store exists, aimed at your niche, does more than a fake heritage. “We make calming beds for senior dogs because we hated watching ours sleep on hard floors” builds trust no stock photo can.
- Make it easy to trust and buy. Clear product pages, visible policies, simple checkout. Remove anything that makes a wary buyer hesitate.
The aim is alignment: the store, the packaging, and the product should all feel like one intentional brand, so a visitor who buys isn’t surprised by what arrives.
Step 7: Connect fulfillment and go live
The final step makes the whole thing run on its own. Connect your agent to your store so orders fulfill automatically: when a customer checks out, the order syncs to your agent, who picks the product, packs it in your branding from the packaging they’re already holding, checks it, and ships it under your name — with tracking pushed back to your store. Set up once, it’s hands-off from then on. Every order ships branded without you touching a box, which frees you to focus on the one thing that actually grows the store: marketing.
When you go live, watch the first orders closely. Confirm the first few branded packages actually went out correctly — right box, right insert, right product — before you scale ad spend behind them. After that, getting traffic is its own discipline (ads, content, and especially unboxing videos, which branded products are uniquely good at fueling), but the fulfillment side now takes care of itself.
That’s the full sequence: validate a winner, pick a brandable product, choose your branding level, find the right agent, build your identity, sample your packaging, match your store, and connect fulfillment. Do it once per proven product, and you’ve turned a generic dropshipping item into a real brand.
Can I turn my existing store into a branded one?
Yes — you don’t need to start over. If you already have a store making sales, branding is an upgrade, not a rebuild. Apply your logo and colors to the store you have, then do the one thing that matters most: move your best-selling products off their generic marketplace seller and onto a branding agent, so those orders start shipping in your packaging. Re-shoot your photos from a sample, and let your existing customers know about the “new look.” You keep your sales history and momentum — you’re just adding the brand layer to what’s already working.
Start branding your best product
That’s the whole process. The hardest part isn’t the steps — it’s the supplier, because branding without inventory only works if you have a partner who can source your product, apply your packaging and labels at a low minimum, check every order, and ship it under your name. That’s exactly what we do at DailyFulfill: factory sourcing, low-MOQ branding, 3-stage quality control with photo reports, free storage for your packaging, and shipping under your brand — the setup behind 6,000+ stores at a 4.9★ Trustpilot rating. Send us your proven product and get a free quote to start branding it.
 English
 Français
 Deutsch
 Nederlands